First you would need to get a idea of what type of image you want to use. Then you would need to get equipment such as a tripod a torch. Second of all you would need to
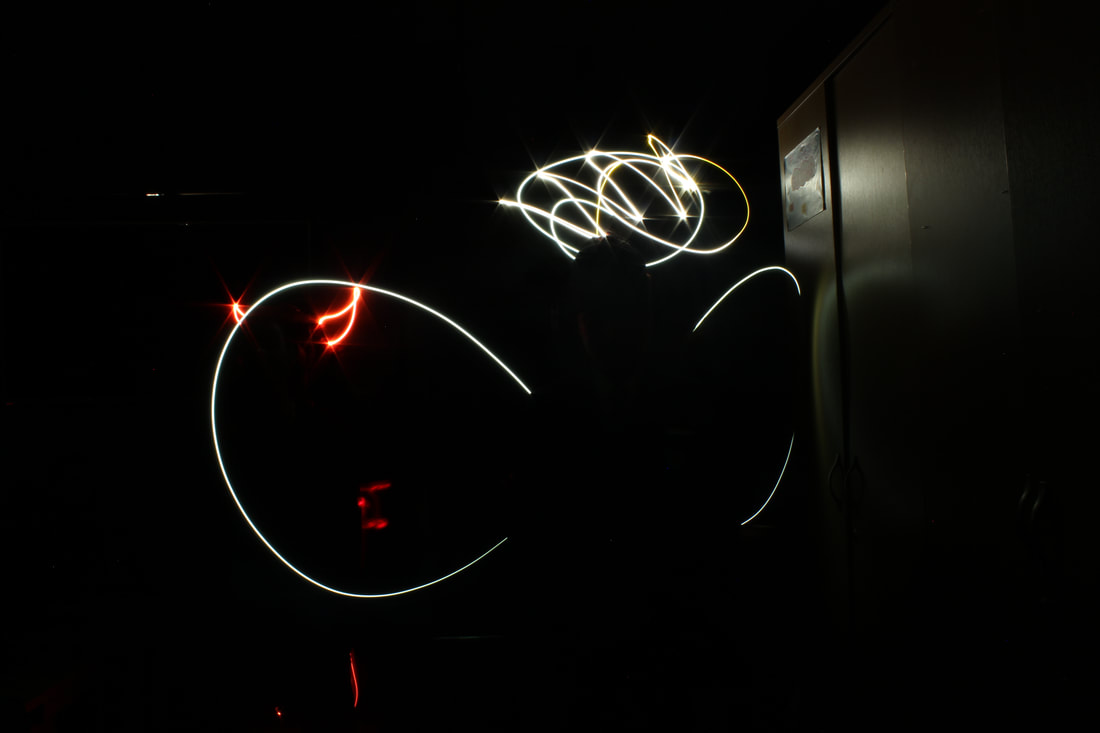
Be sure not to shine the torch directly in the camera during the long exposure since that would bleed out in the picture and mess up the final image. When shining directly into the camera, something like the picture above will come out and that is not how it should look like.
The location of where the image is taken is very important, since there should be no light make sure not to get anything moving in the background as it could ruin the image, in my case we blacked out all of the class room, putting black paper over the doors as there was glass which let light inside, put towels under doors to stop light from getting in and turned all the monitors off so we could get the best possible outcome.
What to wear is important so wear something which is dark and something which doesn't stick out when the camera is rolling. The set which you use is very important and crucial when trying to take a photo with light so you get the best possible outcome. One either has to use a dark room, or wait for it to become night and do the light drawing/ painting outside,which can dramatically make the image look better and more professional. A big area is necessary since the angle of the camera and the lens is wide, personally I suggest a big room which has lighting kept to the minimal or by going out in your garden for even better results.
When you take the image it is critical that the set cannot be seen as sometimes it can ruin the picture if you cannot manipulate it on Photoshop. Position your camera on the tripod or on any stable place like a table or chair, about a couple of meters away from where you want to take the image and draw with light. However, it can be more further away depending on how you want you images outcome and the room you have.
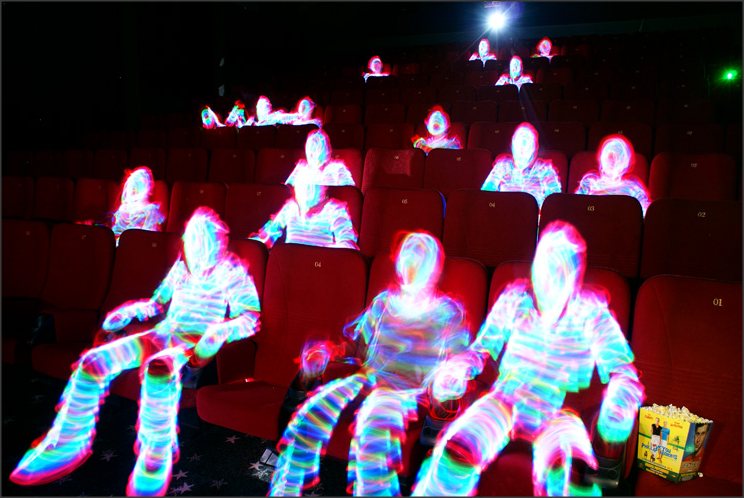
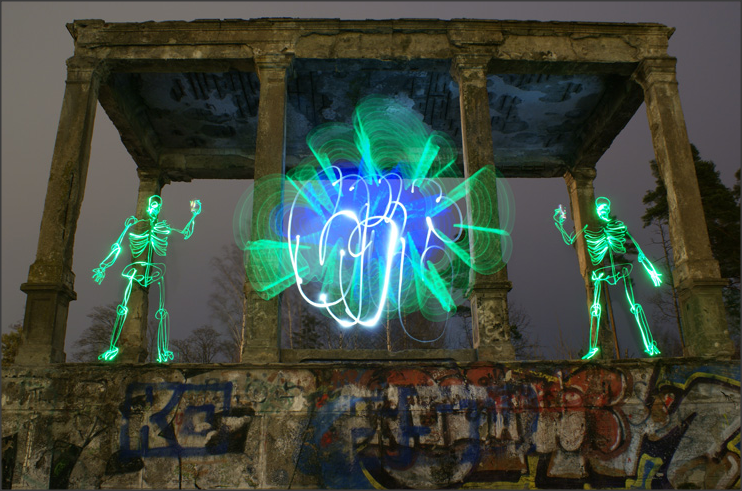
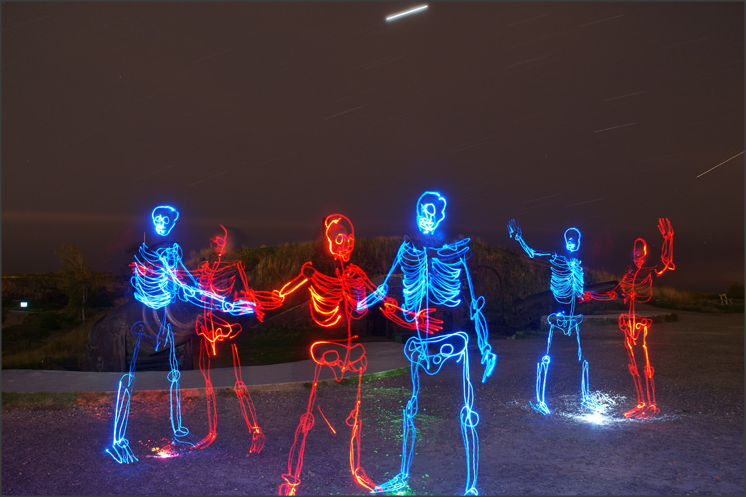
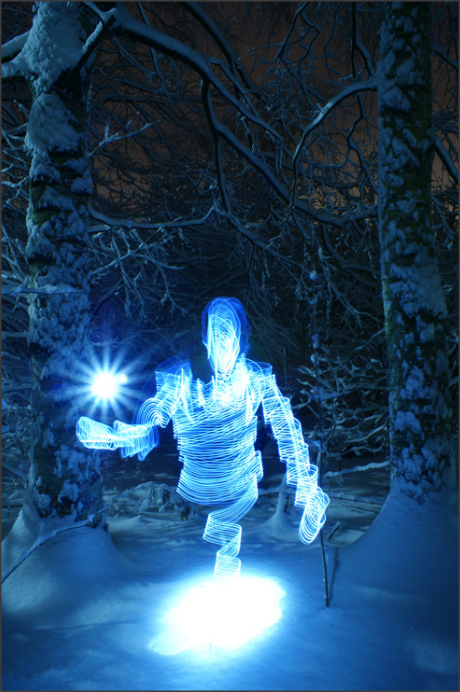
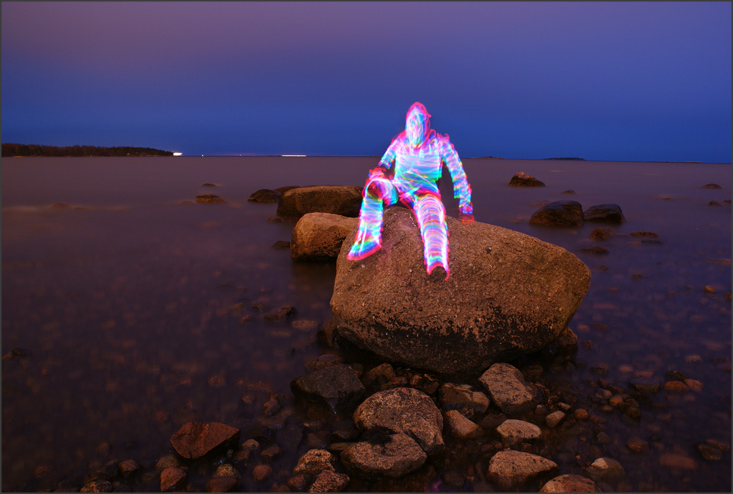
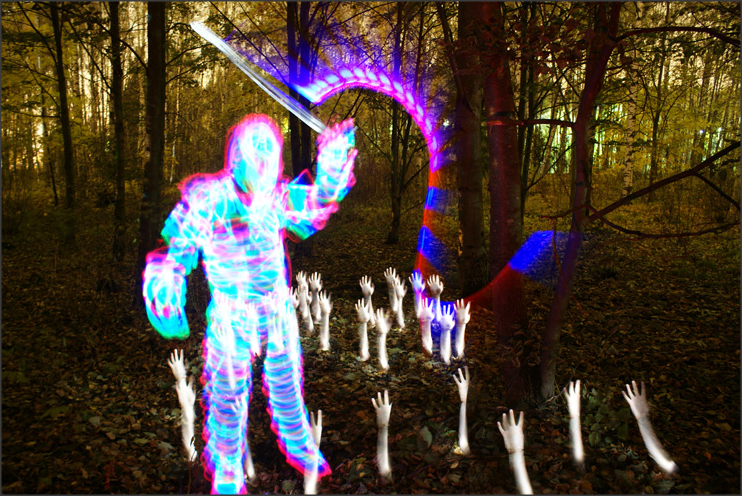
Make sure to set the camera mode to manual , and adjust the camera's shutter speed to no less than 20 seconds as that wouldn't be enough time to however long you want the image to be. For instance if it's simple you can have a slower shutter speed compared to a long one where the images are typically more advanced. Because of the time one needs to get in place, set a timer or ask another person to press to start. Make sure to have no other lights unless you want it to make something complicated. If you did everything going by this guide, your screen should look something like the one in the pictures shown below by Janne Parviainen and my personal ones.
Be sure not to shine the torch directly in the camera during the long exposure since that would bleed out in the picture and mess up the final image. When shining directly into the camera, something like the picture above will come out and that is not how it should look like.
The location of where the image is taken is very important, since there should be no light make sure not to get anything moving in the background as it could ruin the image, in my case we blacked out all of the class room, putting black paper over the doors as there was glass which let light inside, put towels under doors to stop light from getting in and turned all the monitors off so we could get the best possible outcome.
What to wear is important so wear something which is dark and something which doesn't stick out when the camera is rolling. The set which you use is very important and crucial when trying to take a photo with light so you get the best possible outcome. One either has to use a dark room, or wait for it to become night and do the light drawing/ painting outside,which can dramatically make the image look better and more professional. A big area is necessary since the angle of the camera and the lens is wide, personally I suggest a big room which has lighting kept to the minimal or by going out in your garden for even better results.
When you take the image it is critical that the set cannot be seen as sometimes it can ruin the picture if you cannot manipulate it on Photoshop. Position your camera on the tripod or on any stable place like a table or chair, about a couple of meters away from where you want to take the image and draw with light. However, it can be more further away depending on how you want you images outcome and the room you have.
Make sure to set the camera mode to manual , and adjust the camera's shutter speed to no less than 20 seconds as that wouldn't be enough time to however long you want the image to be. For instance if it's simple you can have a slower shutter speed compared to a long one where the images are typically more advanced. Because of the time one needs to get in place, set a timer or ask another person to press to start. Make sure to have no other lights unless you want it to make something complicated. If you did everything going by this guide, your screen should look something like the one in the pictures shown below by Janne Parviainen and my personal ones.
Janne Parviainen
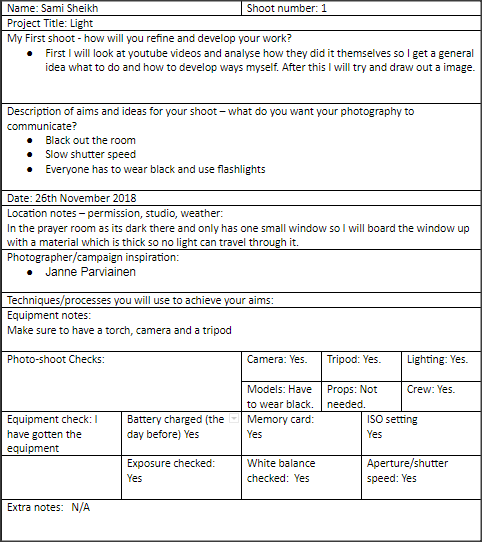
Shoot plan
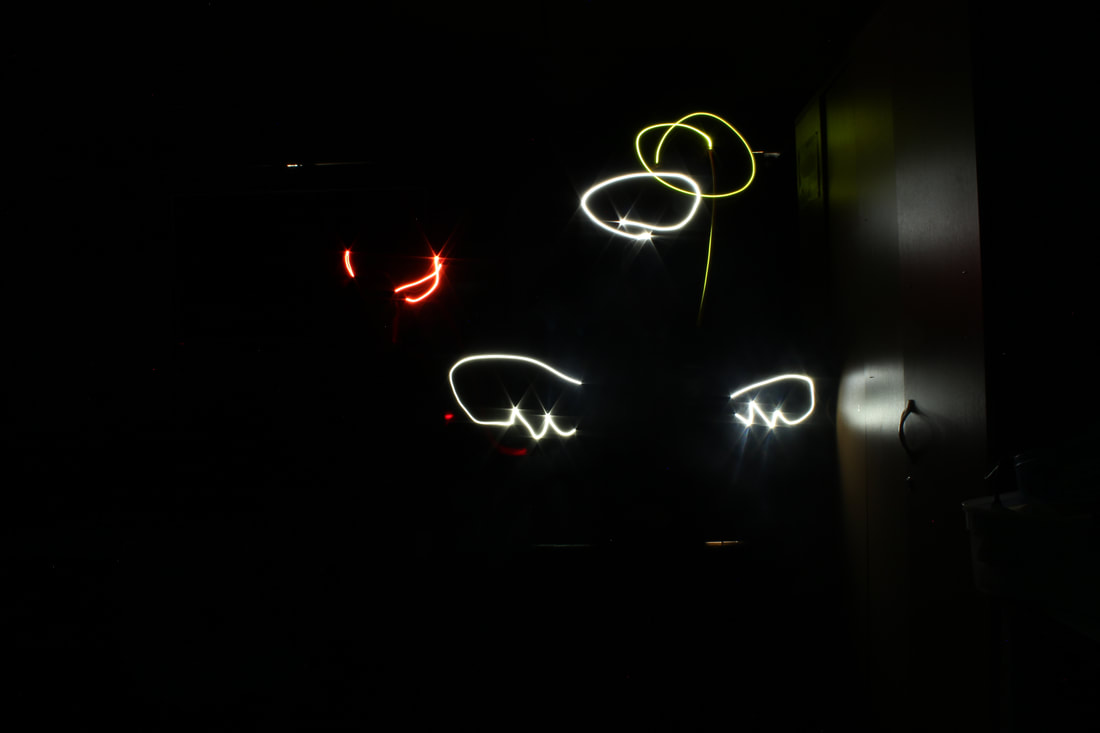
My personal images